One of my hobbies is knitting. By the end of winter this year, for the article “I Make & Styled It!” I am going to make a Fisherman’s Rib Scarf with Fringe. This scarf is very suitable to wear in winter as it can keep you warm by using very soft thread. It can also make you more stylish and you will feel very proud of the scarf you made yourself.
Here I provide free patterns for you and also some outfit ideas for you in the winter.
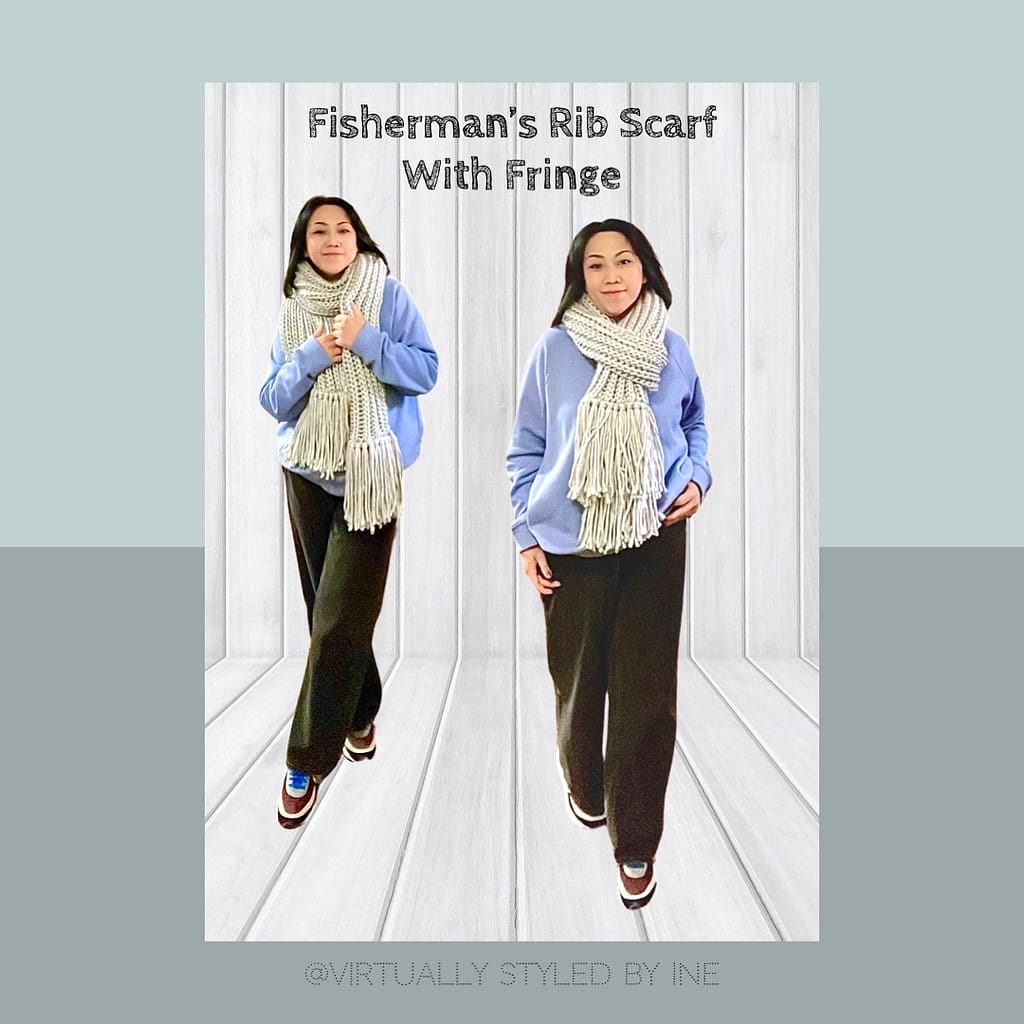
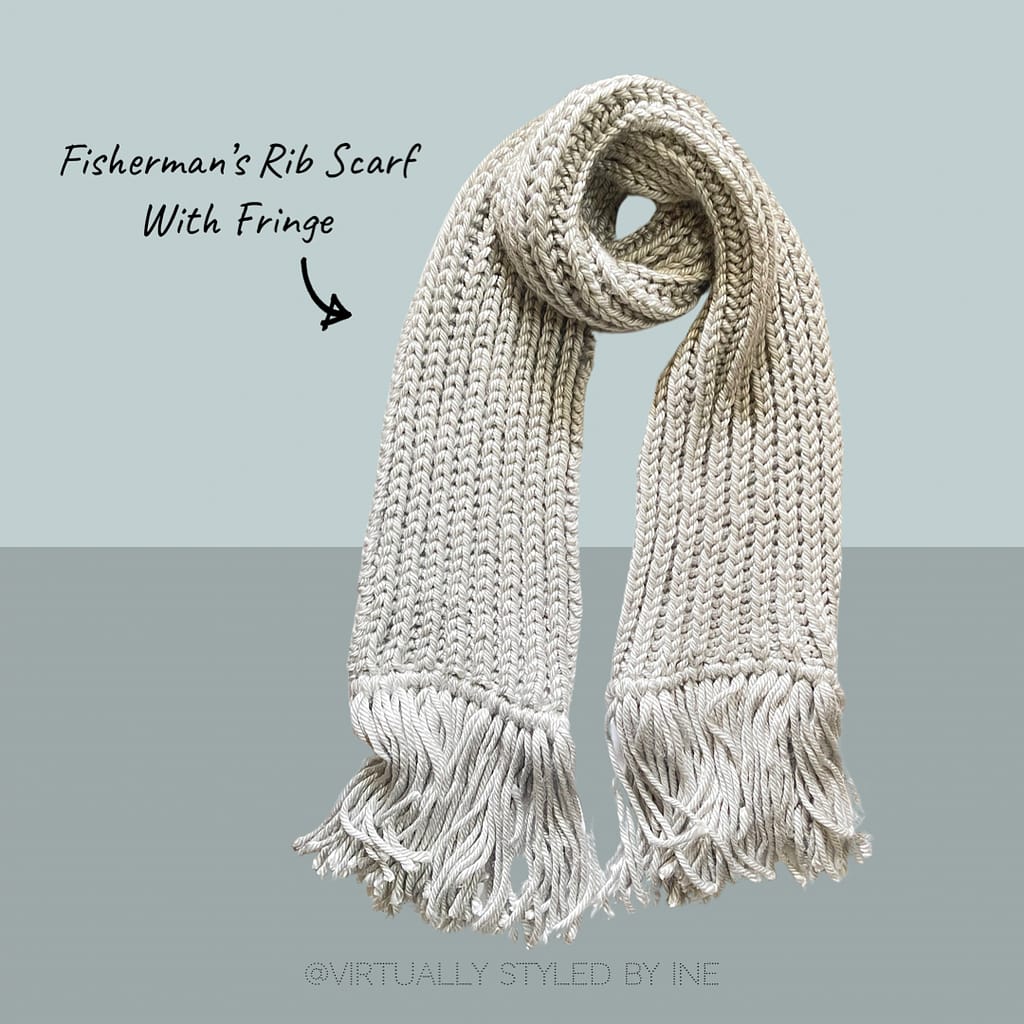
FISHERMAN’S RIB SCARF WITH FRINGE
MATERIAL :
- 4 skeins of Yarn Bee True Colors. 100% Acrylic. Each skein is 776 yards/ 142 grams. This is the color Gray.
- US 15 (10mm), straight or circular needles
GAUGE :
10 stitches = 4 inches ( 10cm x 10cm ) in Fisherman’s Rib
SIZE :
Finished Dimensions : approximately 14 inches wide x 80 inches long ( exclude fringe ), Fringe : 2 x 8 inches long
STITCH MULTIPLE :
The pattern is worked over a multiple of 2 + 1 stitches.
SPECIAL INSTRUCTIONS :
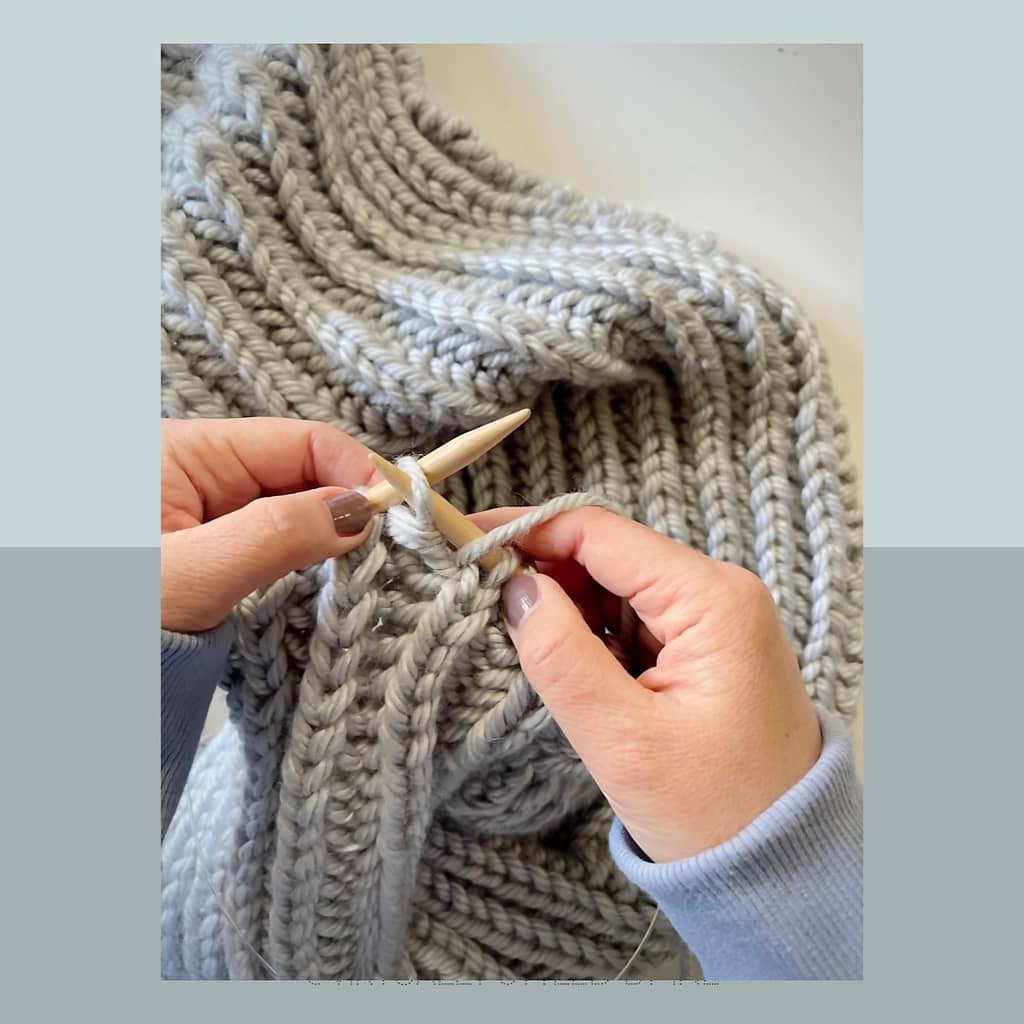
K1B ( Knit One below )
Insert the tip of the right needle into the stitch below the next stitch, knit normally and let the stitch above fall from the left needle. (many videos on YouTube)
PATTERN :
Cast on 19 stitches.
Set-up Row ( wrong side : *K1,p1, repeat from *to last stitch, k1.
Row 1 ( right side ) : K1, *k1b, p1, rep from * to last two stitches, k1b, k1.
Row 2 ( wrong side ) : K1, *p1, k1b, rep from * to last two stitches, p1, k1.
Repeat Rows 1 and 2 until the pieces are just shy of the desired finished length, ending with Row 1. With the wrong side facing you, bind off in 1 x 1 rib. Bind off Row ( wrong side 0 : K1, *p1, pass first stitch over the second stitch and off right needle, k1, pass first stitch over the second stitch and off right needle, repeat from * to end of row. Weave in the ends and gently block, if desired.
ADD A FRINGE TO A SCARF
YOU NEED :
Yarn, Crochet hook, Scissors, Measuring tape.
WHAT TO DO :
The first step is to cut your yarn into lengths third as long as you want the finished fringe. my scarf is approximately 14 inches wide and I decided I wanted my fringe to be a similar length to the width of the scarf. So I cut my yarn in lengths of about 20 inches.
Look at your scarf to work out how many lengths of yarn you will need. My scarf is 19 knitting stitches and I want three pieces of fringe per stitch so I need 57 pieces of yarn. I want to fringe both ends of the scarf, I need 114 pieces of yarn.
PROCESS :
- Take three pieces of fringe yarn and fold them in half.
- Insert the crochet hook into the first stitch and hook the folded yarn loop.
- Pull the loop through about a third of the way. Now open up the loop and slip the ends of the yarn ( all 6 ends ) through the loop.
- Gently pull it tight to create the first pieces of fringe. You may need to adjust the ends as you tighten to get them all even.
- Continue adding three pieces of yarn to each stitch along the end of the scarf.
- You may want to trim the ends all the same length once you’ve finished. Just lay the fringe flat and trim with scissors. As you can see I left mine as they were.
- Then do the same to the other end of the scarf.
STYLED WITH SCARF
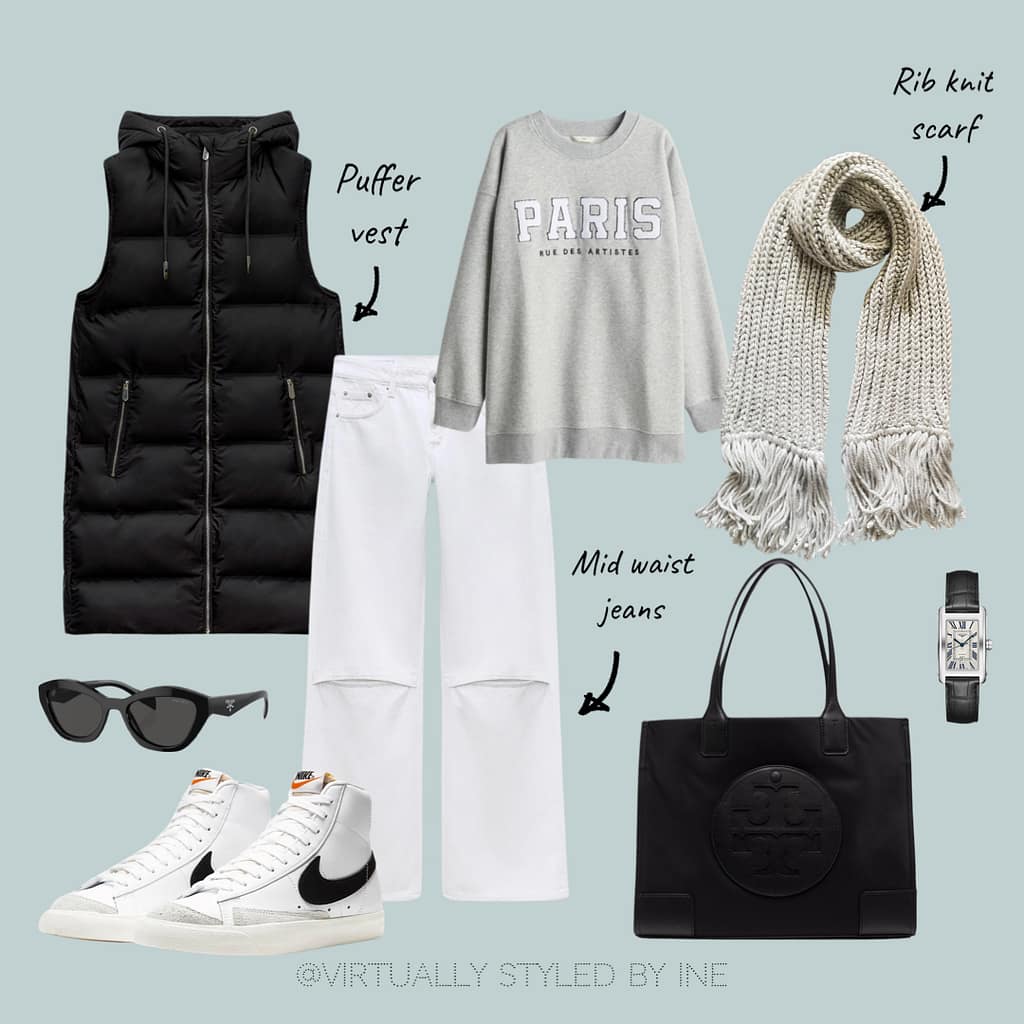
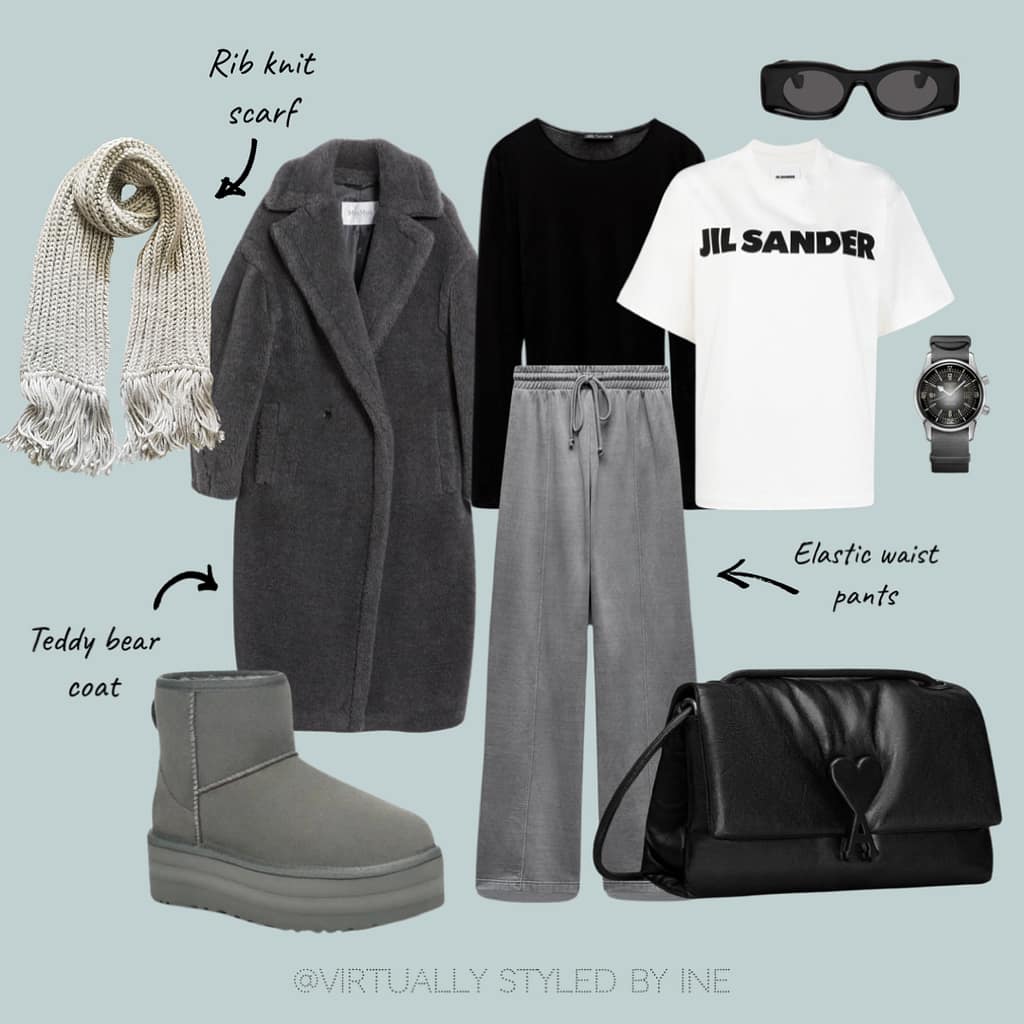
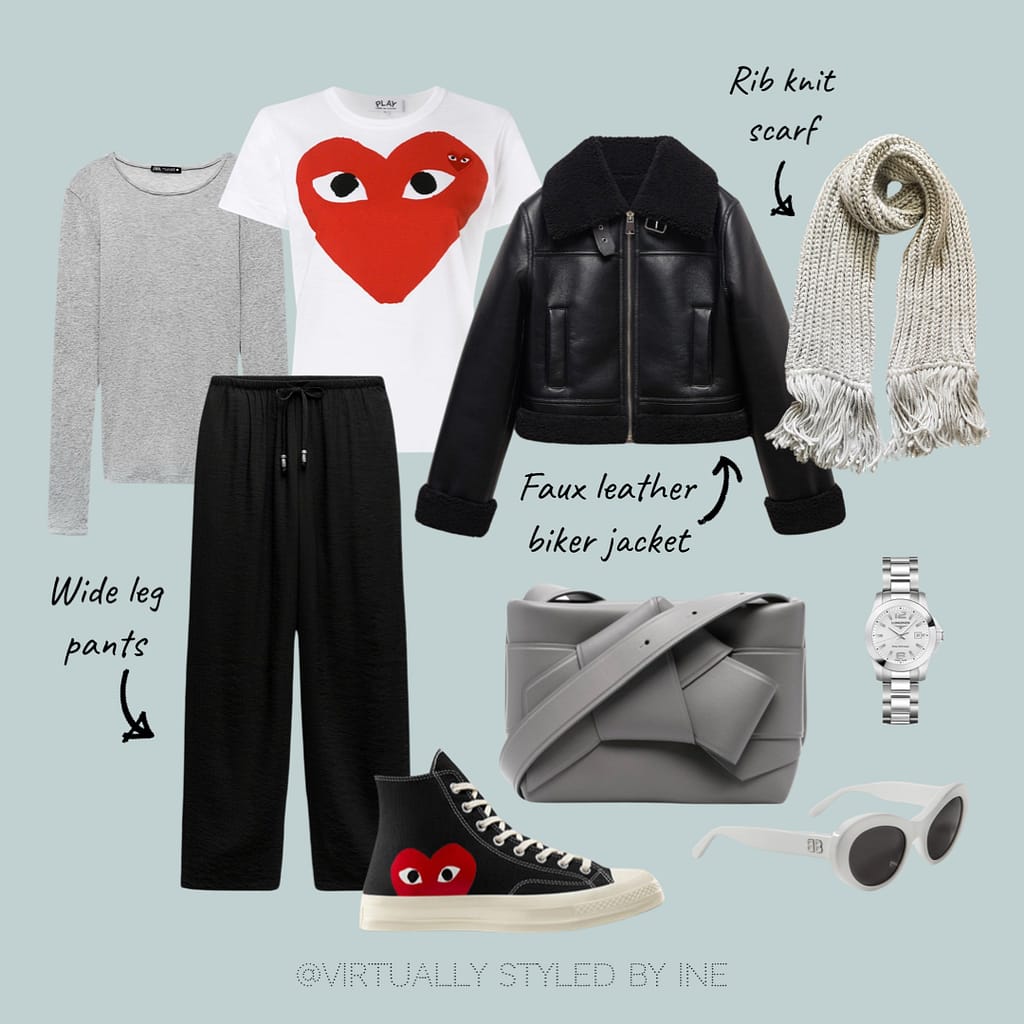
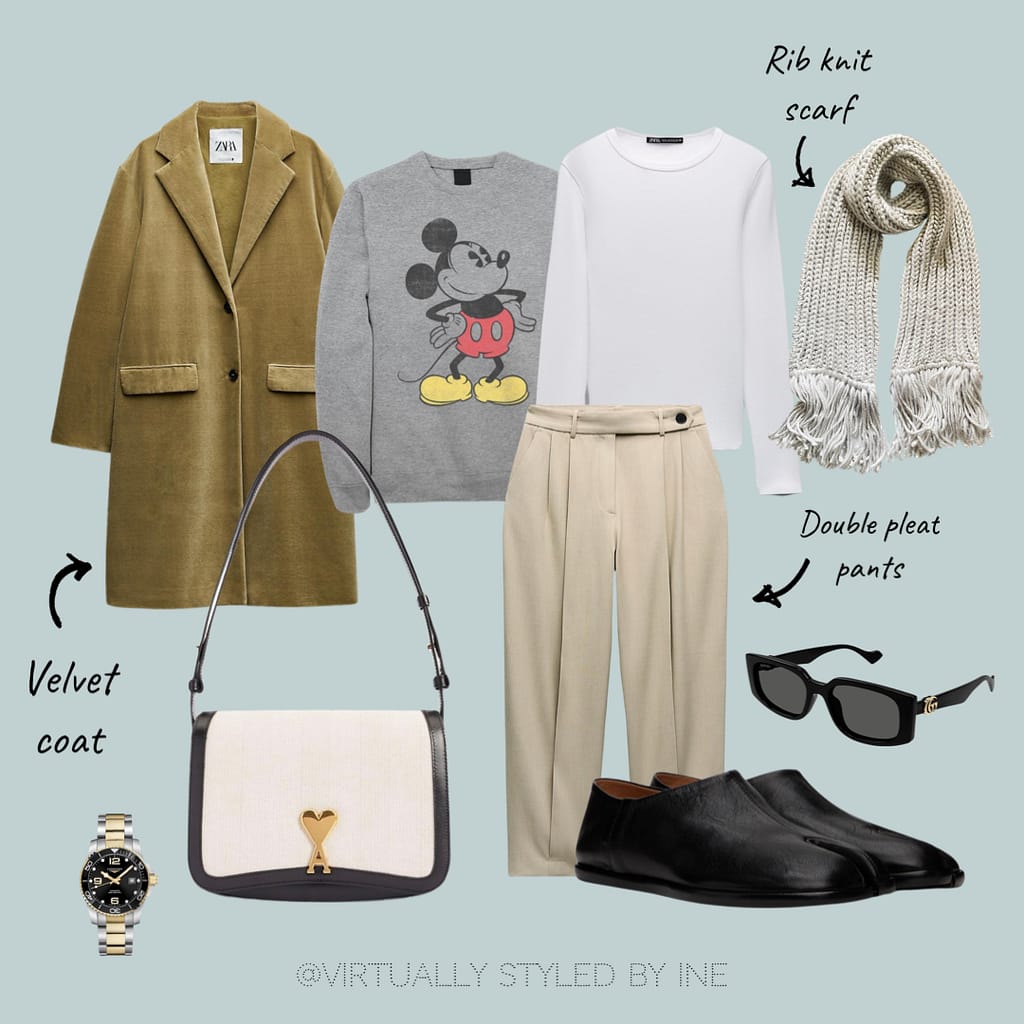
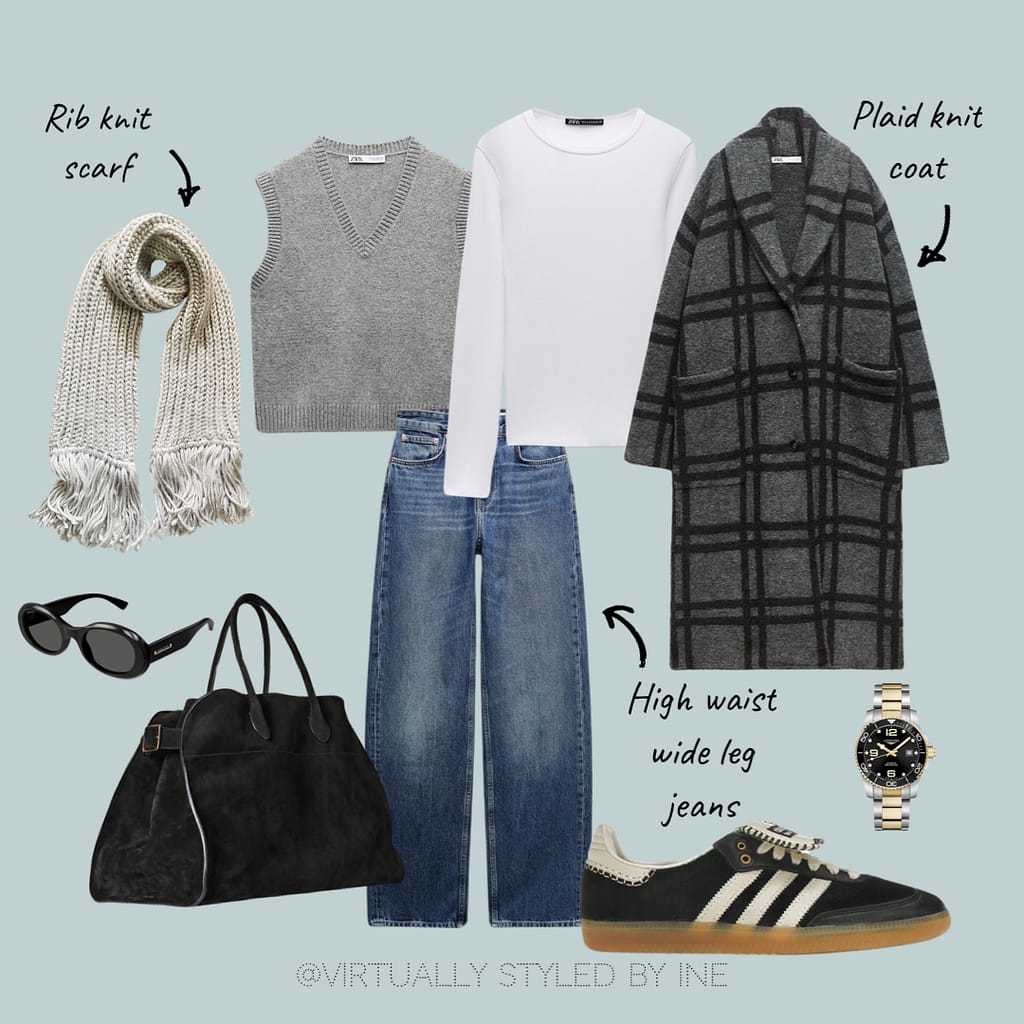
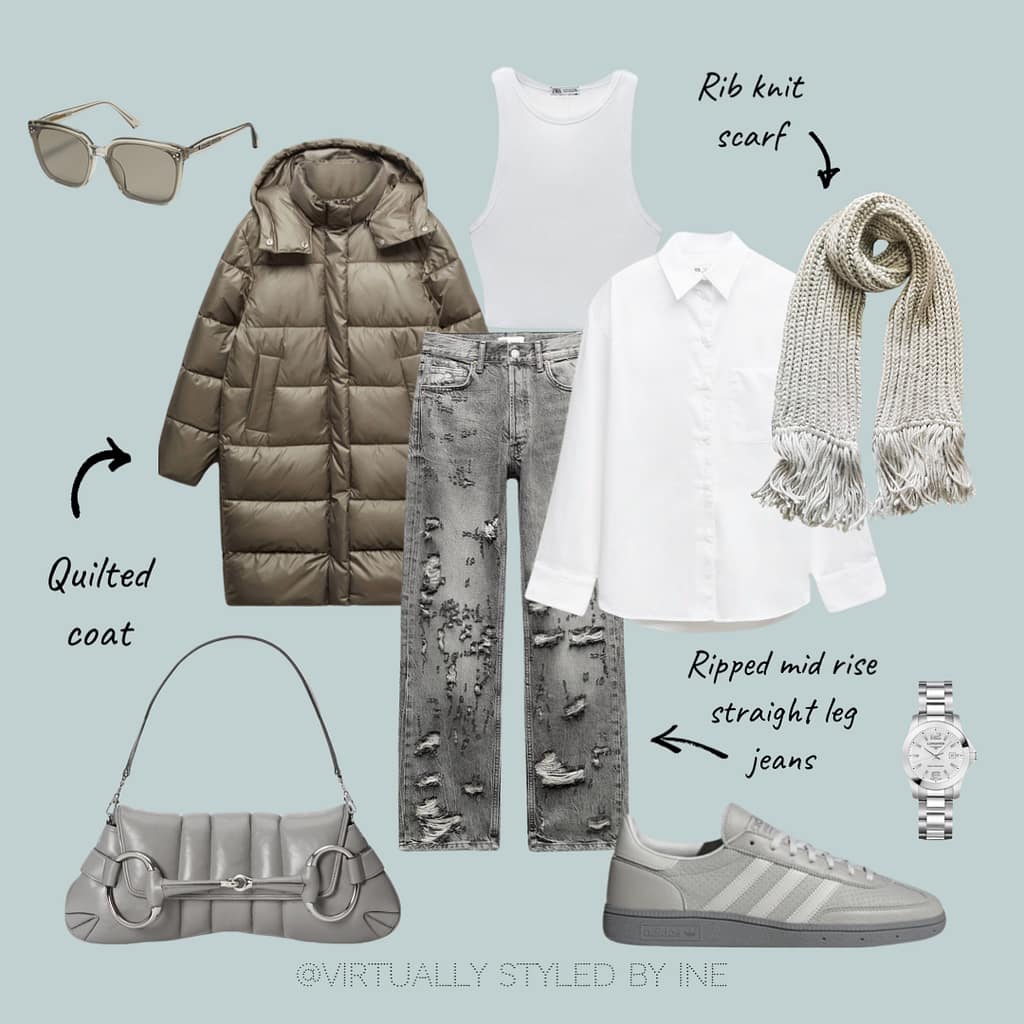
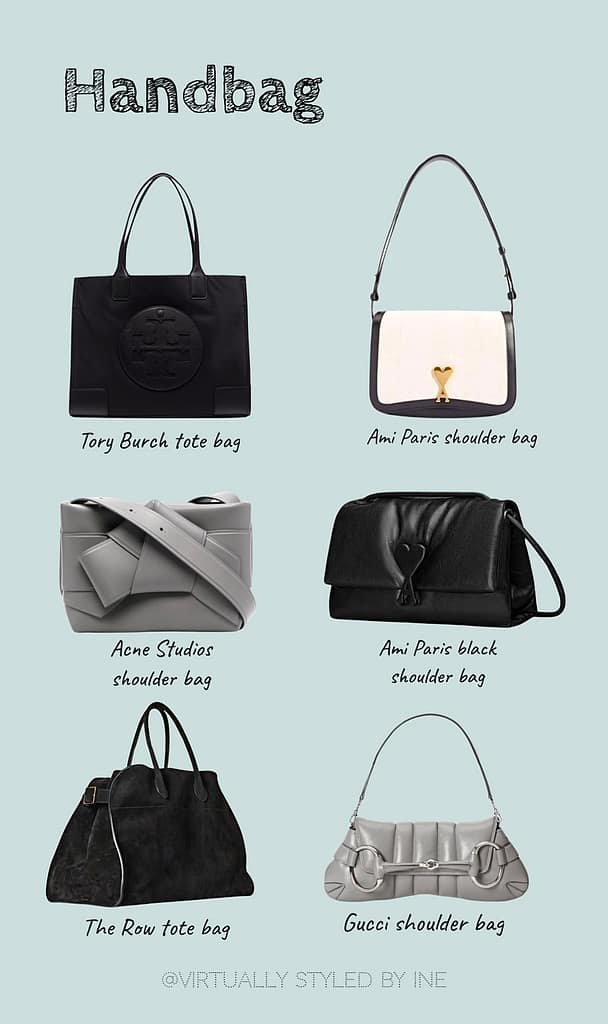
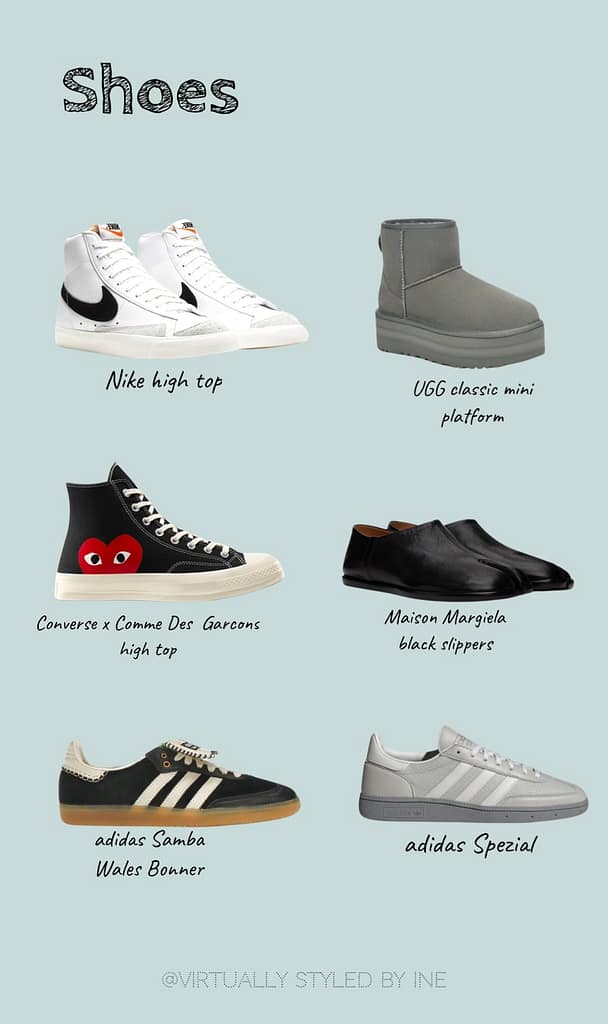
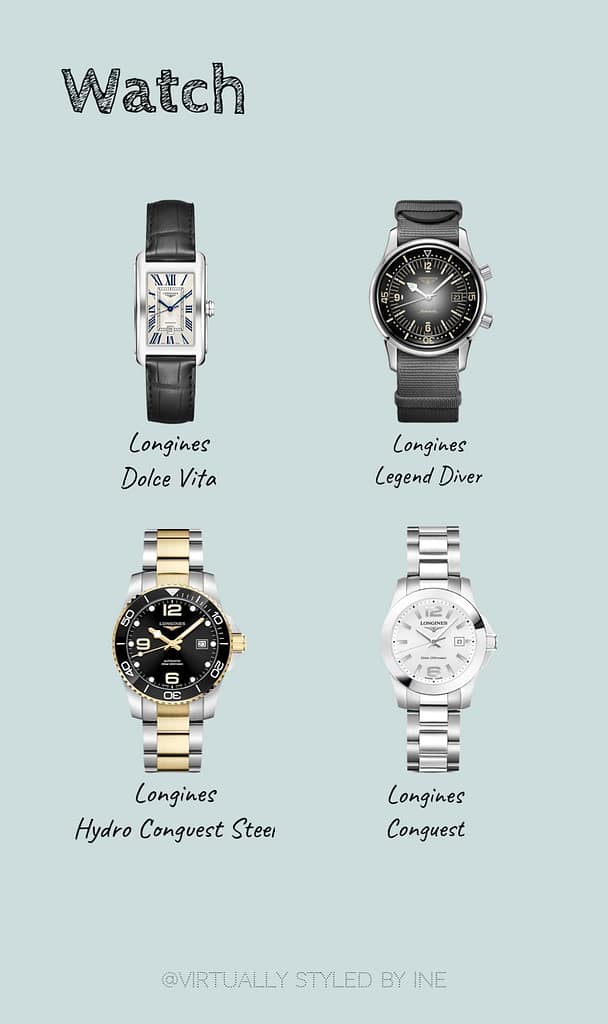
SHOP THE LOOK
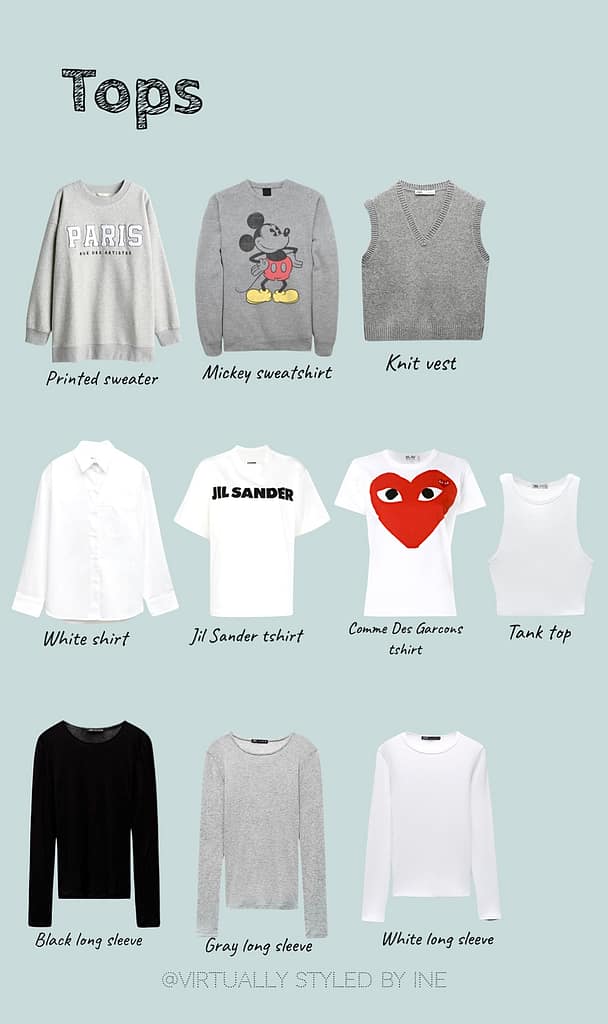
tank top |
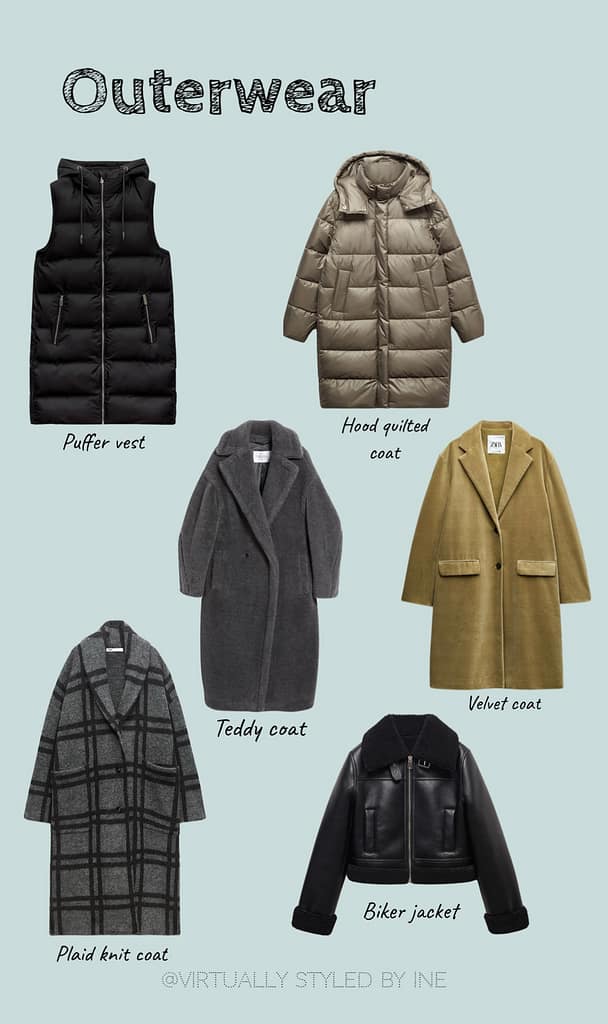
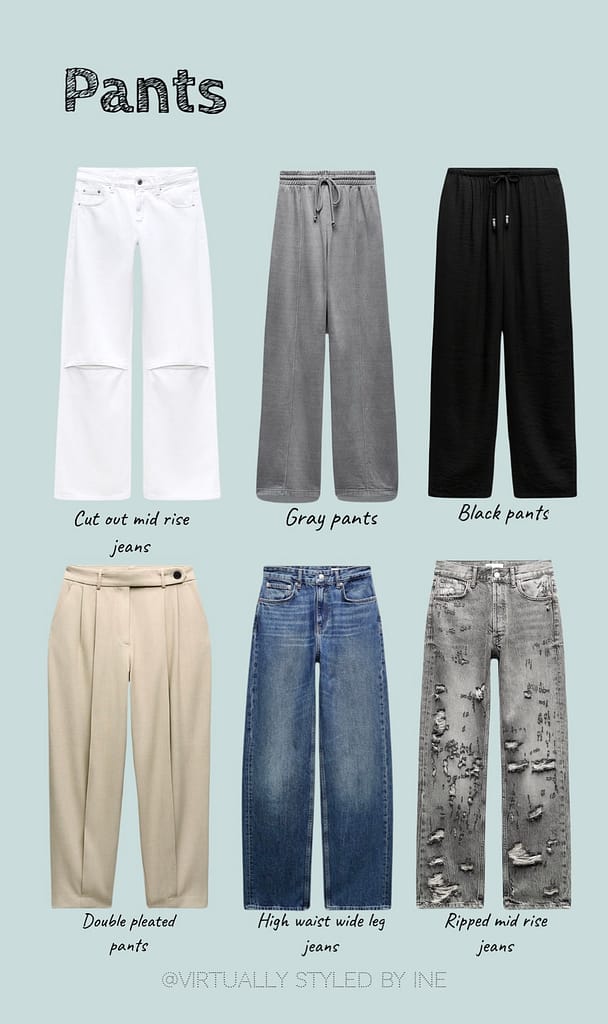

This post may contain affiliate links. This means that if you click on one of these links and make a purchase, I may receive a commission at no additional cost to you. Thank you for your support.